🗼Introduction
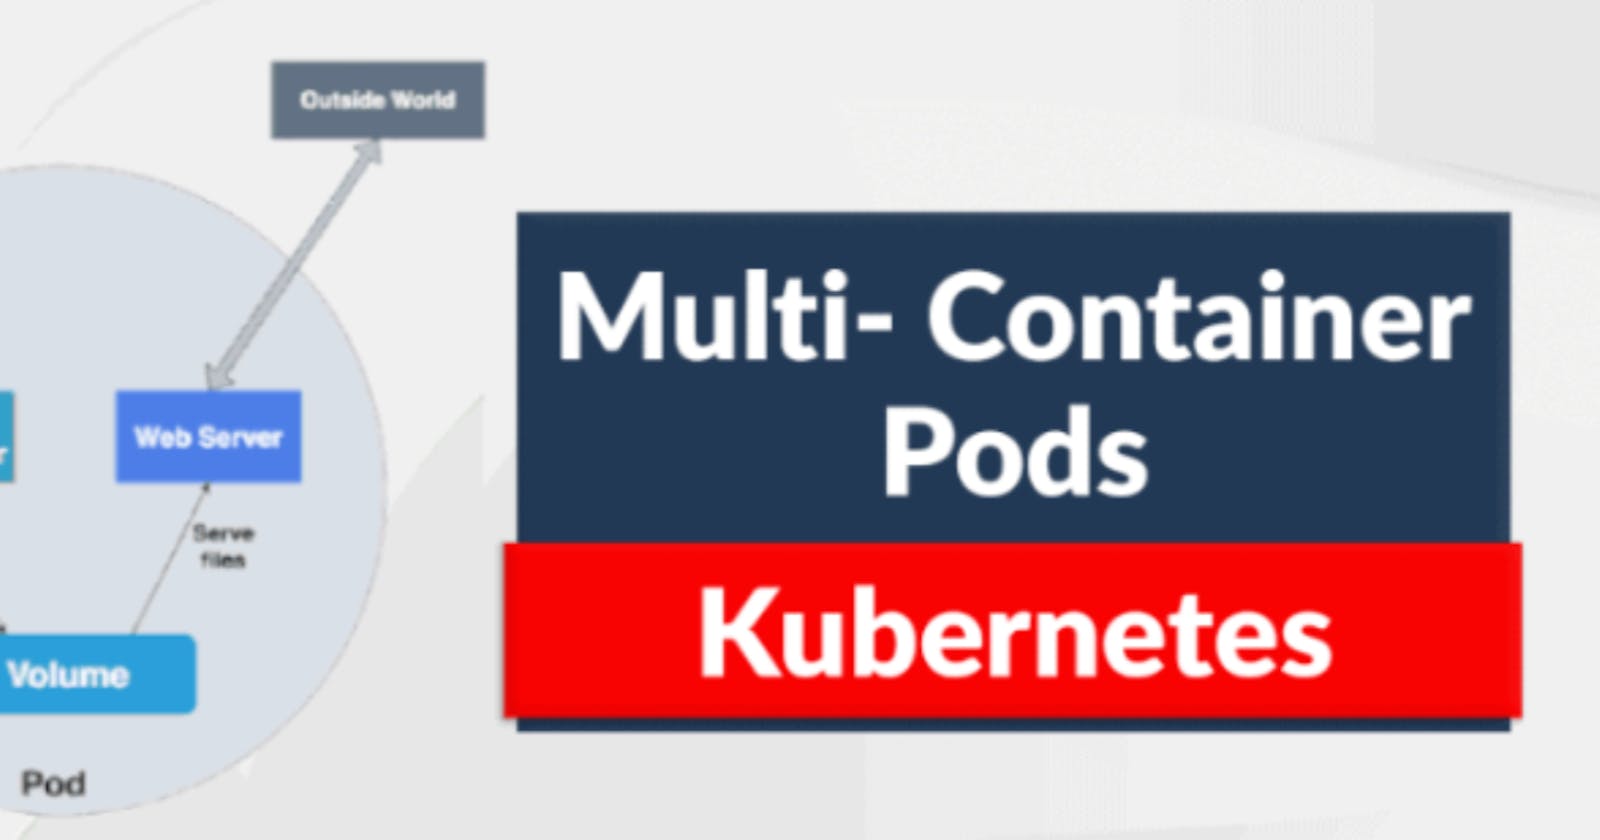
Kubernetes, the leading container orchestration platform, allows you to manage complex applications with ease through its pod-based architecture. While single-container pods are the most common deployment model, there are scenarios where running multiple containers within a single pod can be beneficial. These multi-container pods share the same network namespace, making communication between containers seamless and enabling them to work together closely.
In this blog, we will explore the concept of multi-container pods in Kubernetes, their advantages, and a practical example to demonstrate their usage.
🎗️Advantages of Multi-Container Pods
Co-located Dependencies: Sometimes, applications require auxiliary processes or sidecar containers to function correctly. Placing them in the same pod ensures that these components are always available and co-located with the main application.
Shared Resources: Containers within a pod share the same network and storage volumes, reducing the overhead of communication and data sharing between containers.
Simplified Deployment: Managing multiple containers as a single unit eases deployment, scaling, and monitoring tasks, as you need to manage only the pod and not individual containers.
Enhanced Security: Certain containers, like logging agents or security proxies, can be confined within the pod, preventing direct access to the underlying infrastructure.
🎗️Example: Nginx with Sidecar Container
For this example, let's create a multi-container pod consisting of an Nginx web server and a sidecar container running a simple cron job to periodically update static content.
Step 1: Define the Pod Manifest
Save the following YAML definition in a file named multi-container-pod.yaml:
apiVersion: v1
kind: Pod
metadata:
  name: multi-container-pod
spec:
  containers:
    - name: nginx-container
      image: nginx:latest
      ports:
        - containerPort: 80
      volumeMounts:
        - name: shared-volume
          mountPath: /usr/share/nginx/html
    - name: cron-container
      image: busybox:latest
      command: ["sh", "-c", "while true; do echo 'Updating content...' > /usr/share/nginx/html/index.html; sleep 600; done"]
      volumeMounts:
        - name: shared-volume
          mountPath: /usr/share/nginx/html
  volumes:
    - name: shared-volume
      emptyDir: {}
Step 2: Create the Multi-Container Pod
Apply the manifest using the kubectl command:
bashCopy codekubectl apply -f multi-container-pod.yaml
Step 3: Verify the Pod
Check the status of the pod:
bashCopy codekubectl get pods multi-container-pod
Step 4: Access Nginx
To access the Nginx server running inside the pod, create a port-forward:
bashCopy codekubectl port-forward multi-container-pod 8080:80
Now you can access the Nginx server by visiting http://localhost:8080 in your web browser.
🎗️Explanation
In this example, we defined a multi-container pod with two containers: nginx-container and cron-container. The nginx-container runs the Nginx web server, serving content from /usr/share/nginx/html, and we exposed port 80 to access it.
The cron-container is a sidecar container that runs a simple cron job inside the pod. It updates the content of /usr/share/nginx/html/index.html every 10 minutes.
Both containers share a volume named shared-volume, which is of type emptyDir. This ensures that the content generated by the cron-container is visible to the nginx-container.
🗼Conclusion
Multi-container pods in Kubernetes offer a powerful way to manage co-located dependencies, simplify deployment, and improve resource utilization. By leveraging this feature, you can design more efficient and maintainable applications in your Kubernetes clusters. As you gain more experience with Kubernetes, explore various use cases for multi-container pods and take advantage of their benefits to optimize your deployments. Happy container orchestration!
